YouTube!
BIQU Kossel Plus
Overview
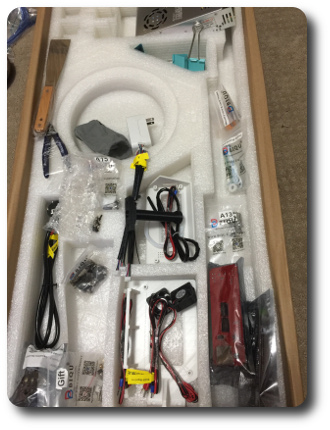
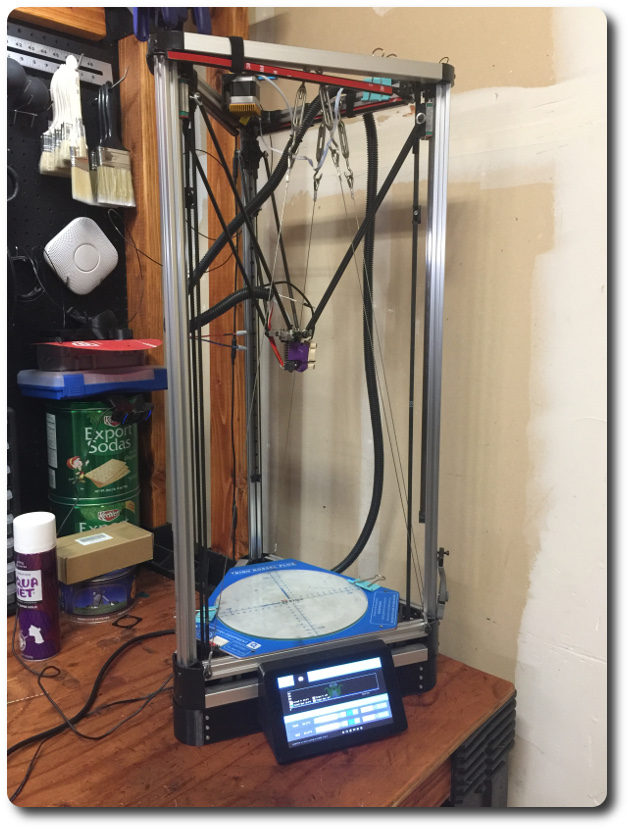
For my first foray into 3d printing, I picked up a BIQU Kossel Plus kit. I love my printer, but I have to take off a couple stars because it took a lot of DIY to get it where it is now. The basic kit is honestly pretty good and BIQU is very active on their Facebook group. The manufactured parts are very good and the printed parts are passable.
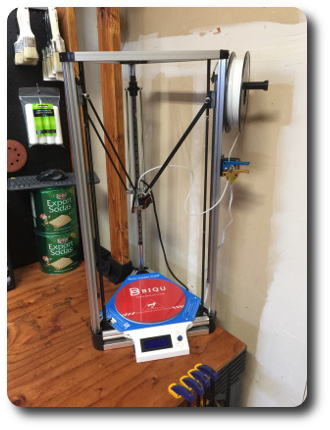
My first real complaint is that the BigTree Marlin board that came in the kit never did work right. It would crash into the endstops, crash into the bed, make motions that were obviously out of calibration and try to break the arms, etc. Further, adjusting Marlin’s configuration requires recompiling the Arduino firmware, which is just a pain. If I cared to fight with it, the Marlin board could probably be made to work, but why bother when the Smoothieboard Just Works out of the box? Since I never got the included controller working, I never tried the include LCD and encoder either. They could be awesome for all I know, but they’re in the spares bin now.
My next big complaint is that there’s no place to put the power supply and there’s wiring hanging out all over the place. The cable wrap kinda works, but having the whole umbilical cord falling off to the side instead of up out the top leads to botched prints and melted wires. Ask me how I know.
Modifications
- Replaced the BigTree RAMPS board with a Smoothieboard clone I hadn’t gotten around to sticking in the ORAC.
Please support the Smoothieware project if you find it useful. This is how open source developers can afford to spend time on the projects we love. Personally, I donate $20/month to the Smoothieware project via PayPal.
-
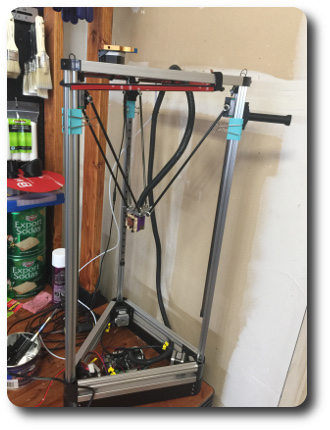
Moved the extruder to the top and lengthened all the wire runs going from the base to the hot end. Wrapped everything up in 1/2” conduit secured to the top with velcro cable ties then running back down outside the print area.
-
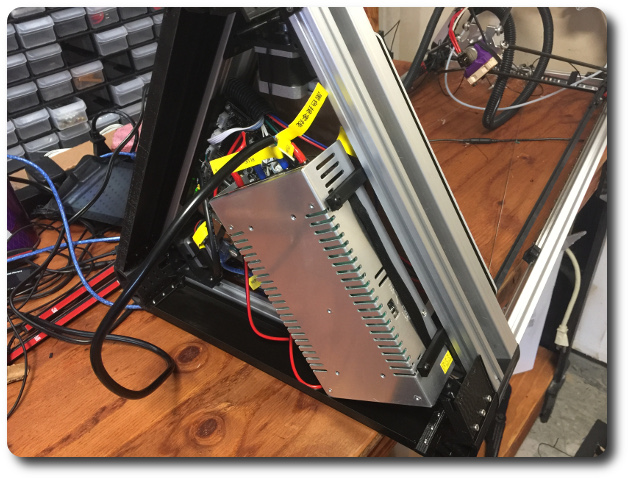
Printed up Peaberry’s Kossel Base Stands to make room underneath for the power supply and the rest of the guts.
-
Designed some panels to go with the stands for a more finished look.
-
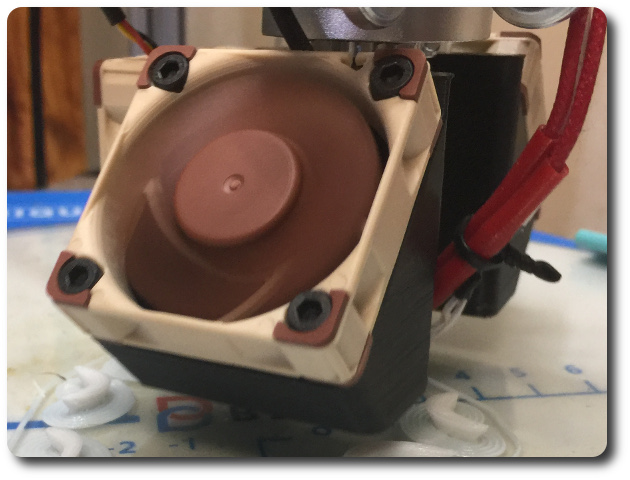
Printed up a Fabrikator Mini Cooler / Fan Shroud and upgraded to a Noctua 40mm Fan.
-
Cobbled on some LED strip lights.
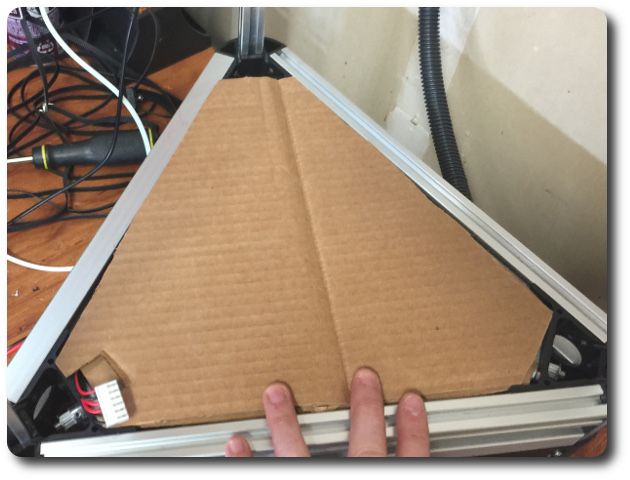
- Hand cut a couple layers of cardboard for insulation between the hot plate and the guts under the base as well as a couple strips of flexible plastic mat to insulate the hot plate from the 2020 aluminum frame.
-
Designed a simple mount to attach the power supply to the 2020 t-slot underneath.
-
Printed up a 2020 SBASE mount and installed the Smoothie clone upside-down making it easily accessible from the bottom.
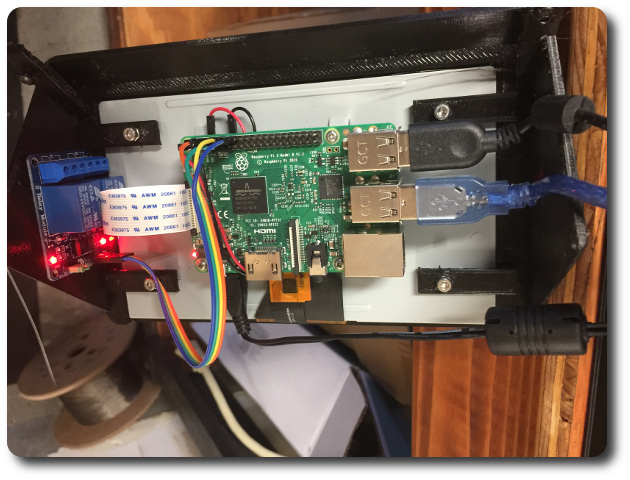
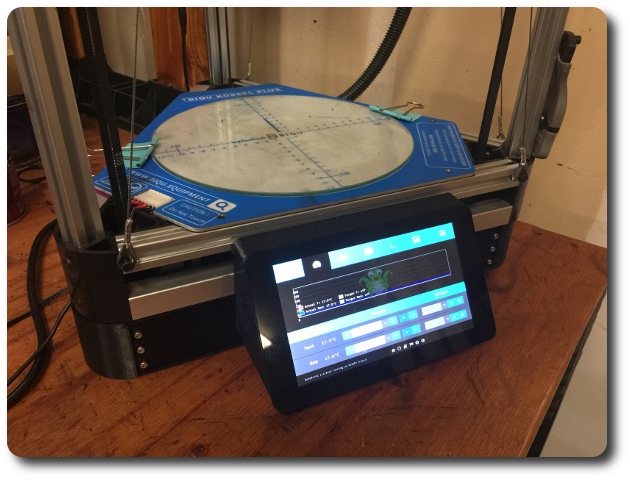
- Designed an enclosure for a Raspberry Pi and official 7” touchscreen running OctoPi for convenient on-machine and remote control. I also added a relay so I can turn the main power supply on and off programmatically. This is very nicely supported by OctoPrint’s PSU Control plugin.
Please support the OctoPrint project if you find it useful. This is how open source developers can afford to spend time on the projects we love. Personally, I donate $20/month to the OctoPrint project via Patreon.
- Upgraded the fan rig to an e3d All-in-One fan mount with two more Noctua 40mm Fans. The center fan is wired straight to 12V on the supply, so if the machine is on, the heat sink is being cooled. The side fans are driven by the Smoothieboard via M-codes send from the slicer.